Spicy, Crispy Chicken Tenders I Make All Of The Time
I love the flavor on these chicken tenders. The best part is that they are very easy to make.
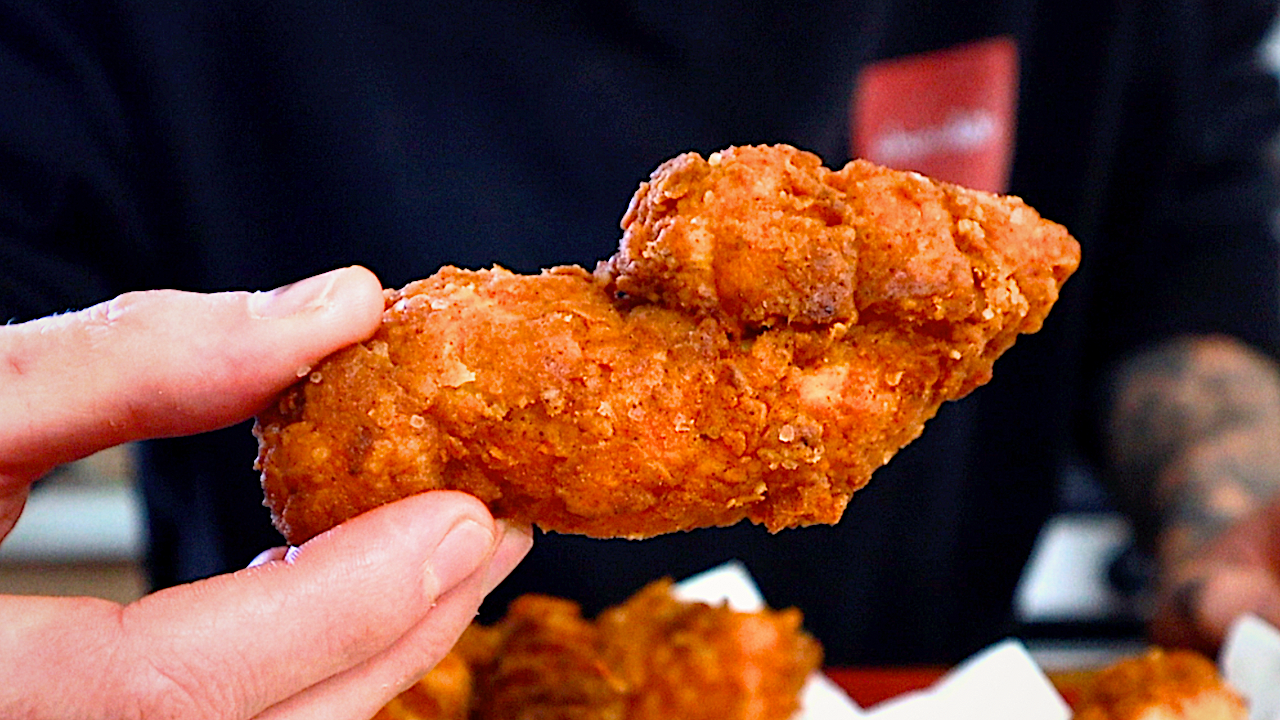
I love making these chicken tenders from time to time. Well, let me say that I actually make them a lot of the time. They are addictingly spicy, crispy and tasty. One thing I love about a good chicken tender is how crispy they stay after a while sitting around. I am a textural eater and love crispy textures. The chicken itself stays moist and tender inside that beautiful crispy exterior. I do a quick dry brine for these, meaning I let an amount of salt sit on the tenders for about an hour before breading and frying. The process really helps season the chicken tender beyond just the surface and the breading and the meat.
I found a great method for getting that crispy tender that stays crispy for a good amount of time. I will go over that in detail below.
Ingredients:
6 chicken tenders
1/2 tsp kosher salt
1 c ap flour
1 tbsp seasoned salt
1 c hot sauce (see my favorite sauce for these tenders)
2 quarts oil for frying (I use canola for frying)
Tools needed:
2 glass dishes big enough for breading the chicken
Fryer, big stock pot or dutch oven
Plate
Slotted spoon
Thermometer
Rubber gloves (these nitrile gloves are awesome)
How to make it:
First thing I am going to recommend for having crispy chicken tenders is to work with tenders that are close to room temperature before frying. The tenders will fry better and the breading will stick better. This is because the temperature of the tenders won’t shock the hot oil as much when compared to chicken that is around 40 degrees f. If the temperature of the oil drops too much when frying, the breading will soak up the oil making a soggy breading rather than the breading frying and getting crispy. As far as food safety guidelines, meat can sit at room temperature up to 4 hours before getting dangerous and starting to spoil. More precisely, that temperature has to be be below 90 degrees f. For any temperature above that, 2 hours is the maximum time meat should be left out before spoilage can occur. That being said, I salt the tenders with kosher salt, a little pinch on each will do the trick. Then, I cover the tenders and let them sit on a plate on my countertop for about an hour. That time I use to make some sauce and sides and heat up the oil for frying.
Make some seasoned flour with the 1 c ap flour and 1 tbsp seasoned salt. I love my general purpose seasoned salt recipe for this!
Pour 1 to 1-1/2 c hot sauce in one dish and the flour in another. I use glass baking dishes or pie dishes when doing small batches.
Now, pat the tenders dry and dredge in the flour. Working on 1 or 2 tenders at a time, shake off excess flour and place tenders in the hot sauce. Make sure to thoroughly cover the meat with the sauce and place back into the seasoned flour lightly patting the flour into the sauce. The meat should be completely covered with the flour, the sauce and the second dredge of flour.
The oil for frying needs to be between 350 - 375 F. I fry the tenders 2 at a time as to not drop the temperature of the oil below 350. This will also help with the breading not completely fall off the chicken when you take a bite.
Fry the tenders until the middle of the thickest part registers 165 f with your thermometer. As they come out of the hot oil, place on a paper towel lined plate or cooling rack.
I made a quick sandwich in my video. The sandwich was made on some flat bread with a cream cheese spread. The spread had 1/2 c softened cream cheese, the juice of 1 lime, a pinch of salt and pepper and about 10 sprigs worth of chives thinly sliced. The ingredients all get folded in the cream cheese and spread on the flat bread. The tenders go on the bread and that’s it!
Enjoy
Logan